Employee Growth Story: Janine Kearney – Service Manager

Janine Kearney - Cross Company

“Working for Cross has been a bit of a culture shift from working for J.A. King, in a good way. I love the atmosphere now that we are Cross. Everyone is willing to pitch in and people are treating things differently now that we are employee-owners.”

Janine

Kearney

Position:

Service Manager

Cross Company Group:

Precision Measurement

With Cross Company Since:

2018

Janine's Career Path at Cross:

Career path graphic - Janine Kearney

Janine's Story:

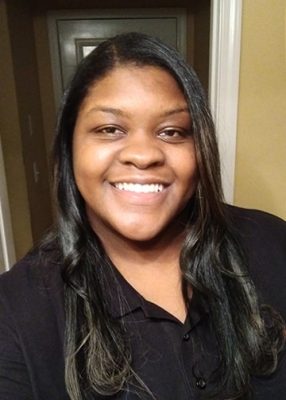
Janine started her career at Cross as a service coordinator in our Greensboro, NC calibration laboratory. As coordinator, Janine was the nerve center of the service department answering phone calls, overseeing technician schedules, and making sure that equipment was calibrated and returned to customers in a timely manner. Because of her ability to deftly manage equipment flow, she was promoted to an out-to-vendor coordinator. In this role, Janine was responsible for managing calibrations that were done by outside vendors. This involved coordination between customers, service departments, sales, and vendors. When our Raleigh, NC calibration laboratory was in need of a service manager, Janine was an obvious candidate. Her experience building relationships with customers and overseeing operations made her perfectly suited to jump right in and keep the lab running smoothly.

When asked about her experience working at Cross after the acquisition of J.A. King in 2018, Janine had this to say:

“Working for Cross has been a bit of a culture shift from working for J.A. King, in a good way. I love the atmosphere now that we are Cross. Everyone is willing to pitch in and people are treating things differently now that we are employee-owners.”

Latest Cross Company Updates

Transform point clouds into actionable data. Learn how mesh generation improves CAD comparison, reverse engineering, and GD&T inspection.
January 7, 2026
Maximize profitability in casting. This guide from Kreon explores how 3D scanning digitizes parts, reduces waste, and ensures strict QC compliance. Learn More!
January 7, 2026
Learn when to use touch probes vs 3D scanners. Discover applications for disc, star, and hemispherical styli for complex part inspection.
January 7, 2026
Compare Portable CMM Arms vs. CMMs. Determine the best 3D inspection tool for your needs based on environment, precision, and automation.
January 7, 2026
Discover the benefits of large-scale metrology with Kreon. Learn how large measuring arms maintain accuracy, protect fragile parts, and improve speed.
January 7, 2026
thread gages
Cross Company stands as your premier destination for top-quality metric hose fittings, offering a comprehensive selection that aligns with international metric standards.
January 2, 2026

Contact our Team

Hang Tight! We're Searching... Searching... Searching...

We’re looking through thousands of pages to find the most relevant information.

In the meantime, enjoy these fun facts…

Did you know… Cross Company is an ESOP (Employee Stock Ownership Plan). Our ESOP started in 1979 and as of 2006, we are 100% employee-owned! Learn more about our ESOP and how that benefits both team members and our customers.
Did you know... the precision measurement group at Cross was founded in 1939 by our current CEO's grandfather, Jim King. That's a whole lot of calibration!
Did you know... A fingerprint weighs about 50 micrograms. We know, we weighed it! The residue left from a finger can actually make a difference in weight results which is why we wear gloves when we calibrate weights. For reference, a sheet of paper is about 4.5 grams, that’s 4.5 million micrograms.
Did you know… Cross Company has grown significantly since our start in 1954. Over the years we've acquired 26 companies! Today, our five groups have expertise in everything from industrial automation to precision measurement, and industry knowledge going all the way back to 1939.