Non-Contact Surface Roughness
Non-Contact Surface Roughness Products
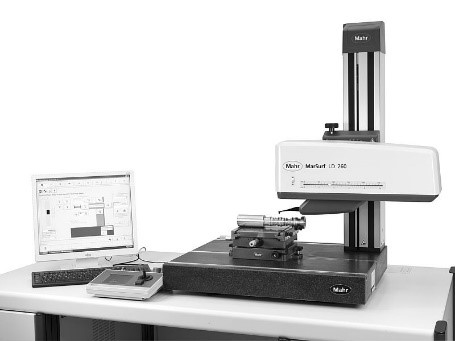
Material types and conditions or the need for 3D geometry may make traditional stylus-based surface roughness equipment inadequate. Non-contact systems provide a high speed, high accuracy, and highly flexible alternative. Using confocal white light or laser interferometry technology, non-contact systems are an excellent resource for R&D, reverse engineering, or specialty applications.
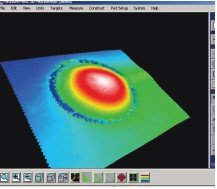
Along with the ability to measure delicate and complex parts, scanning systems provide a visual representation of the part surface. This data allows you to make decisions not only on your part’s measurement data, but also get a true look-and-feel for your part’s condition.
Sensors
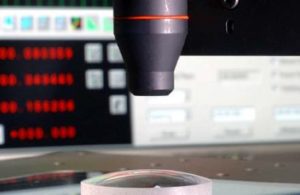
Multi-Sensor Systems
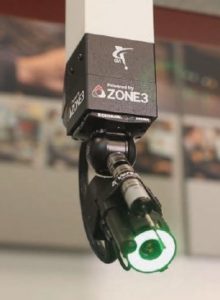
3D Maps
Benefits of Cross Non-Contact Surface Roughness Tools
There are many benefits to choosing Cross as your surface roughness measurement equipment supply company. Through our strategic partnerships with industry leaders and reputable manufacturers, we’re able to bring the highest quality products to our customers. This helps our customers optimize their production processes, ensure product quality, and guarantee accuracy in production equipment.
When it comes to dimensional metrology equipment, we know that the choices may seem overwhelming. That’s why we work directly with all of our customers to determine the product that would most benefit their unique needs. It’s also why we offer post-sales support to our customers to make absolutely sure they’re getting the value required from the dimensional metrology product. Or if our customers know the exact product they need, we’re happy to provide them with the product that they know works for them.
We can help optimize your production process by providing
White light sensors
Non-contact measurement
Multi-sensor systems
Visual context maps
Non-Contact Surface Roughness Calibration Services
When it comes to tools like surface roughness equipment, high quality product manufacturing isn’t the only concern. You also need your metrology tools to be accurate, reliable, and provide repeatable results every time. Being able to trust your equipment is a necessary component in an optimized production process, and inaccurate tools can cause major problems down the line. This can include declining quality control, less satisfied end users, and even potentially extended downtime. These are all things we want to help you avoid.
One of the main ways we help our customers trust the accuracy of their dimensional metrology equipment like their roughness measurement equipment is to provide expert calibration services. For any of the precision measurement tools you get from Cross, we can also provide documented, traceable calibration services. This ensures that when you get your %, you know that they will be accurate
Interested in calibration services? Take a look at the ISO 17025 calibration services offered by Cross or contact one of our calibration experts today to learn more.

See why customers love GageSuite, our award winning cloud based calibration management system.
Why Cross Non-Contact Surface Roughness?
At Cross Precision Measurement, our goal is to always provide our customers with the dimensional metrology equipment that they need. Whether it’s air gages or portable CMMs, we want to provide you with the metrological tools your operators need to succeed.
We’ve worked with a wide variety of operations, from local laboratories to large industrial complexes. And we’ve provided the same outstanding services to every one. These services can include pre-shipment equipment calibration, operator training on best practices for that equipment, and post-sales product support to ensure that you’re getting the most out of your new roughness gauge, caliper, 3D scanner, or any other tool from Cross.
In the industrial and manufacturing world, it’s always worth finding ways to optimize your process. That little bit of extra productivity can make all the difference in an increasingly competitive marketplace and can give you a competitive advantage over your competitors.
Between our products, calibration services, inspection services, and custom solutions, Cross Precision Measurement is a single-source dimensional metrology equipment and service provider to many in the industrial world. And we can provide those same world-class services and industry-leading products to your operation, too.
Related Surface Rougness Gages
Whether you need a skidless, skidded, or non-contact measurement solution, we have you covered! Take a look at other types of surface rougness we have available and reach out to a Cross Precision Measurement expert today to learn more about how we can help you improve quality, increase efficiency, and reduce risk in your operation.
Request Pricing
"*" indicates required fields


