Understanding Traceability and Calibration Uncertainties in ISO 9001
Section 7.1.5.2a of ISO 9001:2015 focuses specifically on the importance of performing calibrations and verifications of measuring instruments against standards that are traceable to national or international standards. While these are certainly important, it’s also important to understand two critical concepts and how they relate to this requirement: traceability and uncertainties. Both of these principles are vital to ensure the accuracy and reliability of calibrations or measurements, making them fundamental to quality management systems like ISO 9001.
Traceability refers to the property of a measurement result allowing it to be connected to a reference standard through a well-documented and unbroken chain of calibrations. This continuous chain ensures that each step in the process is able to be traced back to a recognized and consistent standard. According to ISO 9001:2015, section 7.1.5.2a, organizations must ensure that calibration is performed against standards traceable to recognized measurement systems. If no such standard exists, the basis for calibration must be documented.
Uncertainties are parameters characterizing the range of values that could reasonably be attributed to the quantity being measured (referred to as the measurand). To put it simply, uncertainties ask “How far off could we be in our measurements?” This concept is central to the accuracy of any measurement system. ISO 9001 requires measurement to be traceable utilizing calibrated devices. Calibration, as defined by the measurement community, includes quantifying the measurement uncertainty.
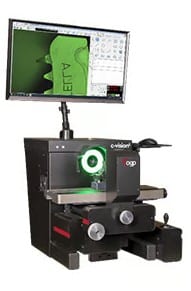
Make Inventory Quicker and Easier with Counting Scales
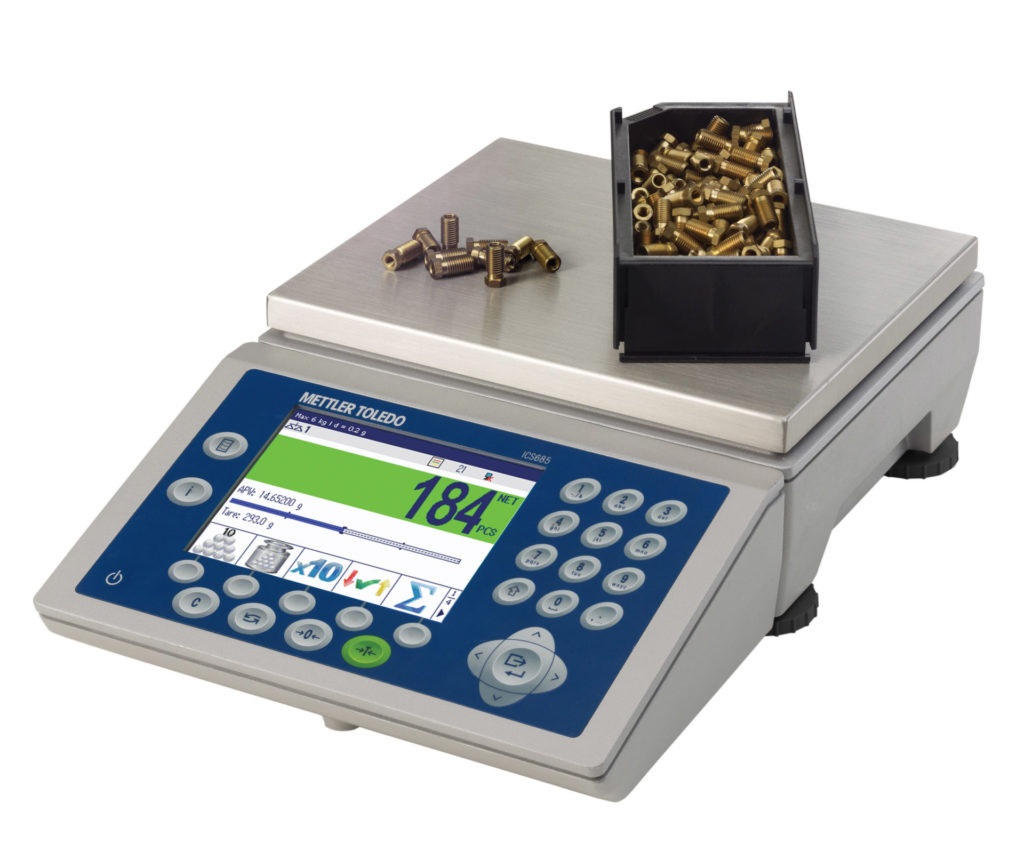
With the end of the year quickly approaching, it’s time to start planning for your annual inventory. During this busy time, a state of the art counting scale can help speed up the count while ensuring accuracy. Counting scales are easy to use and feature a variety of data storage, reporting and printing capabilities to suit your particular operation.
Cross Precision Measurement has decades of experience working with counting scales. Read our article Tips for Getting the Most Out of Your Counting Scale to ensure your inventory is as smooth and accurate as possible.
If you only use counting scales once or twice a year, consider renting the scales from Cross Precision Measurement. Our technicians bring the scales to you, set them up, calibrate them and train your team how to use, if necessary. Once you’re finished, we pick them up, eliminating the expense and the storage of owning your own scales.
Collaborative Robots for Metal Processing
As a manufacturer in the metal processing industry, you’re well aware of the challenges that the industry faces, including labor shortages, high turnover, high mix-low volume products and the need for additional capacity for reshoring.
To help with these issues, a collaborative robot from Cross may be the answer. Cobots can help improve quality and boost productivity across multiple applications from CNC machine tending, welding, screwdriving, dispensing and finishing through palletizing, forging, die casting, and more.
In this e-book from Cross partner Universal Robots, discover many different ways cobots can be deployed within metal processing. Cross Automation is a Certified Systems Integrator for UR and for several other robotic brands. We can help you determine where to start with robotic automation and bring that vision to life.
What's New at Cross
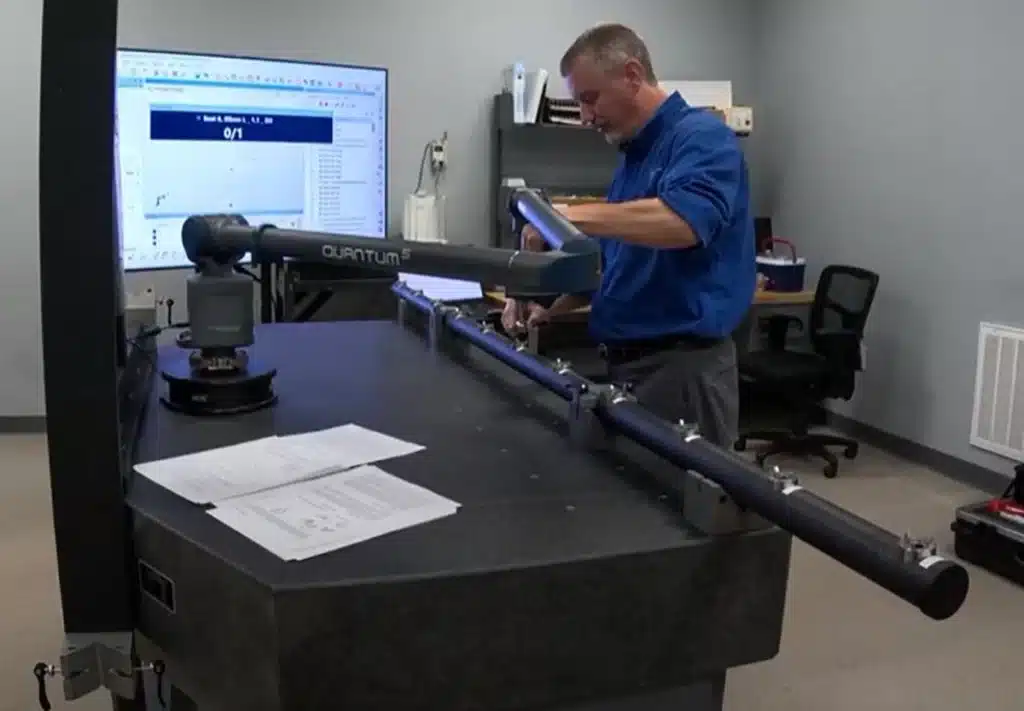
Cross is now Certified for ISO 10360 Portable CMM Arm Verification
ISO 10360-12 is a standard to verify the accuracy of articulated arm CMMs. Unlike previous standards, this standard doesn’t just verify up to the joint. It ensures a thorough verification across the full range of the arm when it is extended. This sets ISO 10360-12 apart from other standards such as B89.4.22, providing greater accuracy, reliability, and precision.
Did you know?
Understanding Autofocus in Optical Measurement
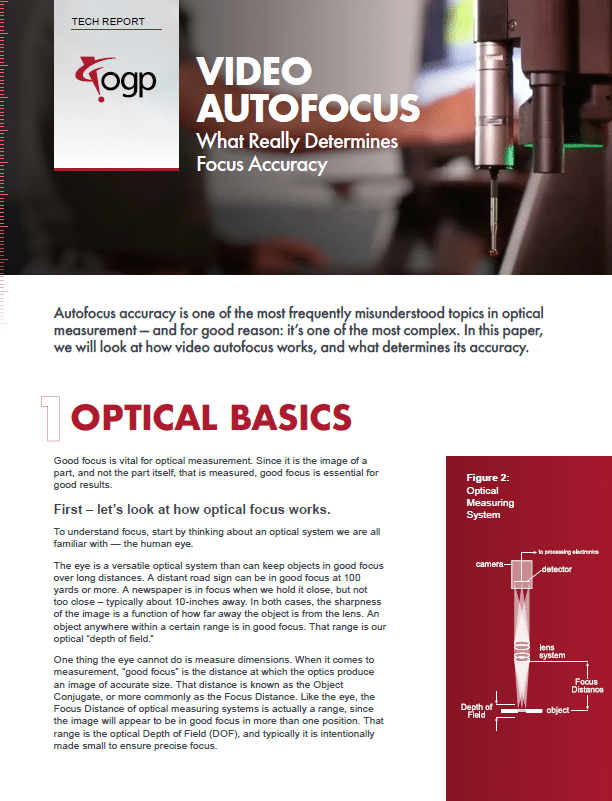
Focus in optical metrology systems is critical as it is the image of the part, not the part itself, that is being measured. If you have poor focus, the system will misinterpret edges and provide incorrect dimensional values. For fixed focal length optical systems, focus plays an additional role – the ability to optically measure depths. This is done accurately and repeatable through the utilization of autofocus. While the autofocus function itself seems logical, it can be quite technical. A correct understanding of the fundamentals of Autofocus for measurement will greatly improve utilization and reliability of the Autofocus function.
This is a comprehensive guide from Cross partner OGP to understanding focus in optical measurement, as well as how autofocus features work and how accurate they are
Cross Provides Tangible Value for You
Improve Efficiency
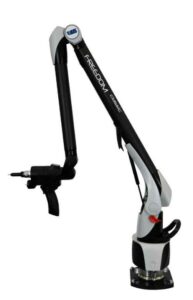
Need precision measurement on your production floor? Consider the FREEDOM arm from Cross partner LK Metrology. Choose from three models and levels of accuracy which best suits your application.
All models are completely portable with wireless connectivity and battery power. They’re lightweight, with the largest model weighing less than 25 pounds, with infinite rotation and zero-G counterbalance to reduce user fatigue while maintaining accuracy.
Raise Quality
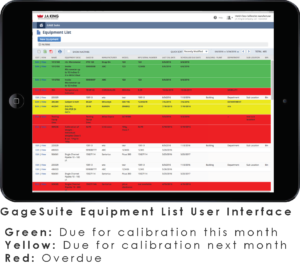
As calibration providers, we know how critical record keeping is for both quality and compliance. Cross’s award-winning, cloud-based calibration software GageSuite® is user friendly and available anywhere.
It’s also ideal for visibility of multiple production locations. Whether those are across the street or across the country, GageSuite® allows you to track every gage and ensure that all of them are within calibration, with one single log-in.
Improve Efficiency
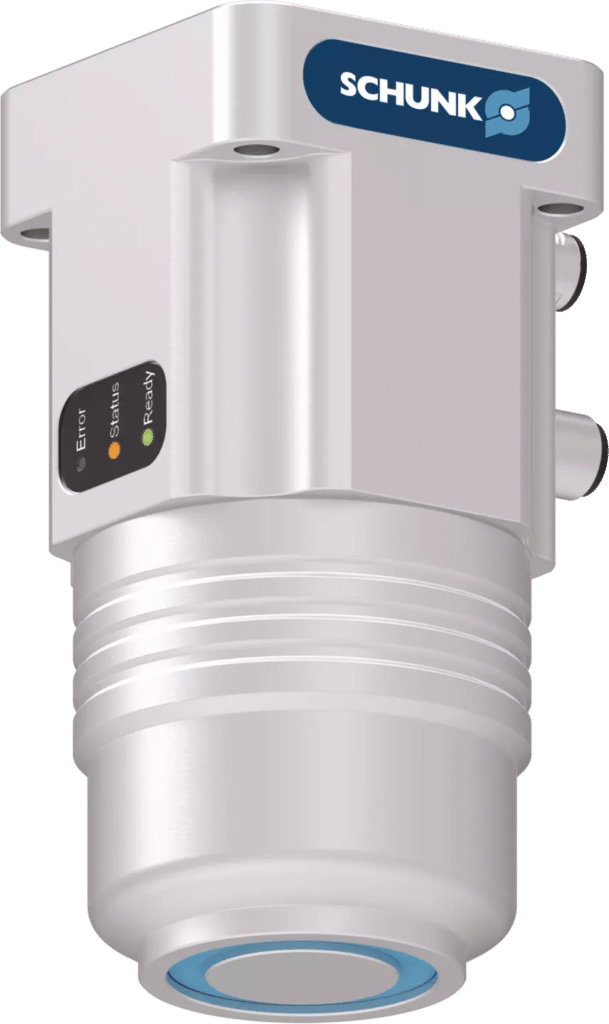
If you’re moving ferromagnetic parts and need an extremely flexible, yet compact end effector, the SCHUNK EMH magnetic gripper may be the solution. The universal design and no unnecessary fingers means it’s able to move a wide variety of parts quickly and accurately.
It’s also safer than most end effectors: By changing the polarity of the permanent magnets through a short current pulse, the magnetic gripper remains in the selected status, even in case of a power failure or
emergency stop.

