Ensure quality with proper autoclave calibration
Autoclave calibration (or validation) is important when determining the functionality of autoclaves in various settings. Autoclaves use both temperature (heat) along with pressure and sometimes steam to process materials. Large scale vessels are commonly used to process materials such as composites which improve the strength and durability of finished products.

When it comes to precision temperature instruments like autoclaves, validation and calibration is necessary to ensure quality. The autoclave calibration procedure can be performed using a range of different devices, but the most important thing is that it be accurate to NIST traceable standards, particularly for AS9100 in the aerospace industry.
At Cross Precision Measurement, we provide calibration services with an autoclave calibration certificate (including as found/as left data) for audit purposes. Cross can also perform temperature mapping on your autoclaves to ensure a consistent reading in all parts of the chamber.
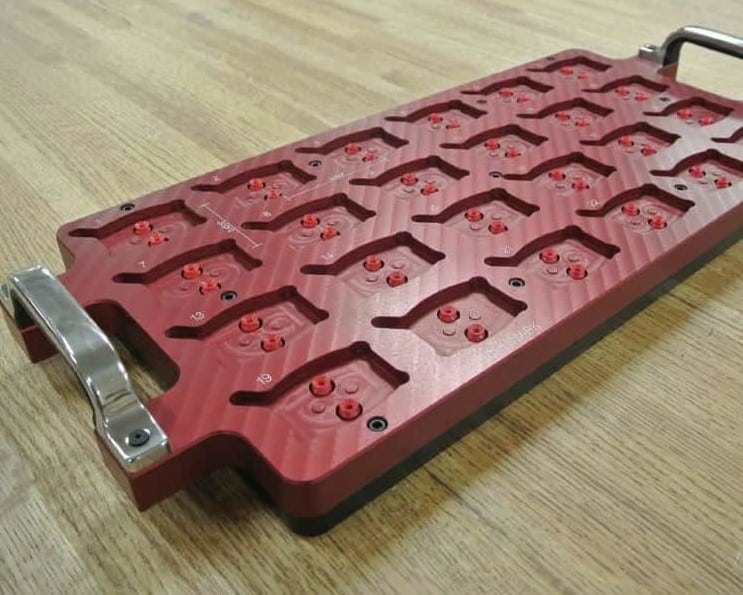
Custom fixtures improve efficiency and maintain repeatability when inspecting a high volume of parts
If you are inspecting a high number of parts, whether with a vision machine, a CMM or a force testing stand, a custom fixture could help you improve your efficiency while still maintaining the highest standards of repeatability.
Cross Company has significant experience in working with customers to understand what measurements they need and what the unique challenges are of the part they are trying to measure.
Our engineering team then develops creative yet simple fixture solutions which are easy to load and hold the part for measurement. We’ve used vacuums, clips, magnets and more to secure the parts. Read about four particularly complex features we designed in this case study featuring Technimark, an injection molder working with the healthcare and consumer products companies.
Understanding Autofocus in Optical Measurement
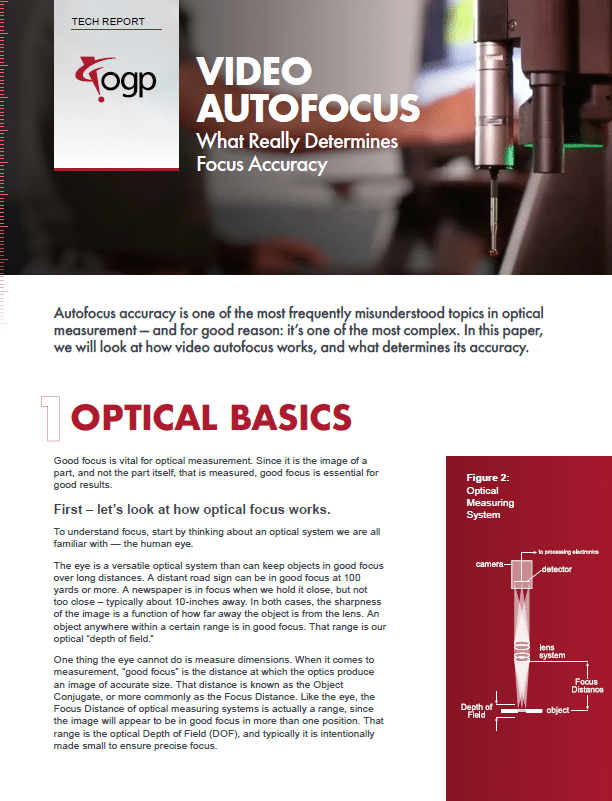
Focus in optical metrology systems is critical as it is the image of the part, not the part itself, that is being measured. If you have poor focus, the system will misinterpret edges and provide incorrect dimensional values. For fixed focal length optical systems, focus plays an additional role – the ability to optically measure depths. This is done accurately and repeatable through the utilization of autofocus. While the autofocus function itself seems logical, it can be quite technical. A correct understanding of the fundamentals of Autofocus for measurement will greatly improve utilization and reliability of the Autofocus function.
This is a comprehensive guide from Cross partner OGP to understanding focus in optical measurement, as well as how autofocus features work and how accurate they are.
What's New at Cross
Planning your holiday shutdown? Consider a tool sweep from Cross Precision Measurement
A tool sweep is simple and it can be time consuming, but it ensures you’re audit-ready with a clean, correct slate. If you’re planning a shutdown during the holidays, that’s an ideal time to ask Cross Precision Measurement to come in. We spread out across your operation, opening every drawer and looking into every corner for tools and measurement equipment.
Once a piece of equipment is found, we compare it against your calibration record. If necessary, we update the location in our GageSuite® calibration software so you can be sure to find it again during your audit. We also verify its calibration certificate is up to date. If it’s not, we can calibrate it for you to ensure everything is current for the auditor.
Watch this Chalk Talk from Cross Precision Measurement (formerly J.A. King) to see what’s involved in a tool sweep
Did you know?
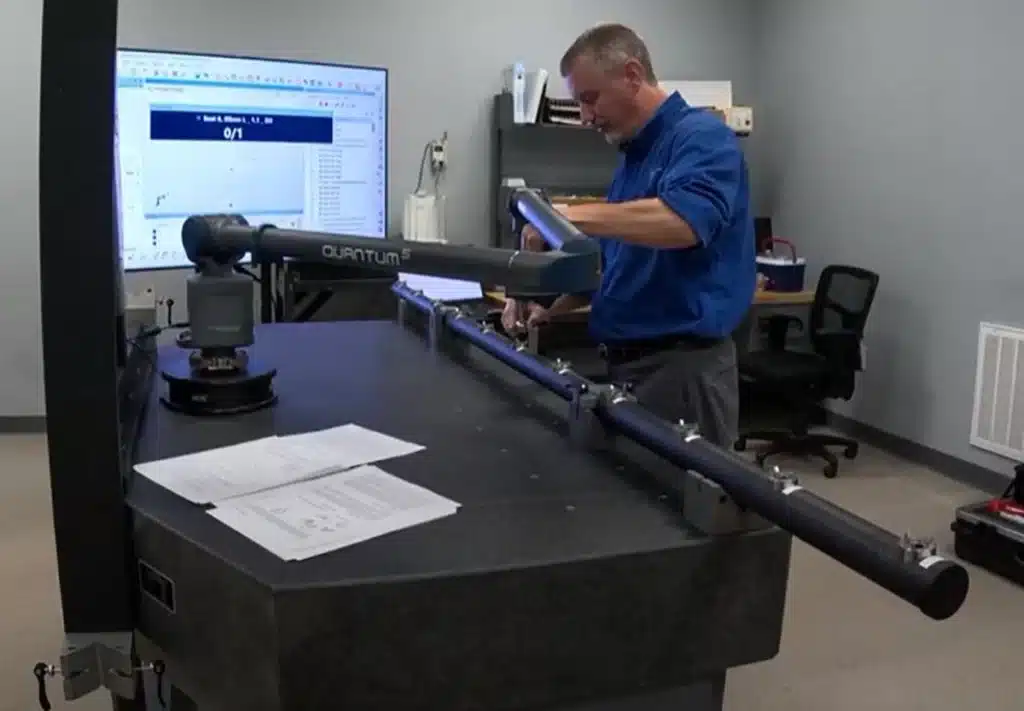
Cross is now Certified for ISO 10360 Portable CMM Arm Verification
ISO 10360-12 is a standard to verify the accuracy of articulated arm CMMs. Unlike previous standards, this standard doesn’t just verify up to the joint. It ensures a thorough verification across the full range of the arm when it is extended. This sets ISO 10360-12 apart from other standards such as B89.4.22, providing greater accuracy, reliability, and precision.
Cross Provides Tangible Value for You
Improve Efficiency
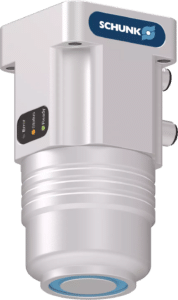
If you’re moving ferromagnetic parts and need an extremely flexible, yet compact end effector, the SCHUNK EMH magnetic gripper may be the solution. The universal design and no unnecessary fingers means it’s able to move a wide variety of parts quickly and accurately.
It’s also safer than most end effectors: By changing the polarity of the permanent magnets through a short current pulse, the magnetic gripper remains in the selected status, even in case of a power failure or
emergency stop.
Raise Quality
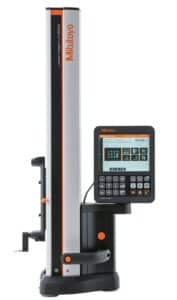
High accuracy and multi-function height gages have an abundance of applications in the aerospace industry. They can be used in the production area to support process control and Quality Assurance, provide relief in the CMM lab for one-off measurements or verifications, and are a staple in incoming inspection. Mitutoyo’s LH-600 has been a go-to for many years thanks to its class-leading accuracy as well as 2D and perpendicularity measurement capabilities. Recently, Mitutoyo updated this classic gage with a new, easier to use display to increase measurement efficiency.
Until December 13, Mitutoyo is offering both their LH-600 and their QM Height 1D height gage for 10% off, plus free shipping and calibration.
Improve Efficiency
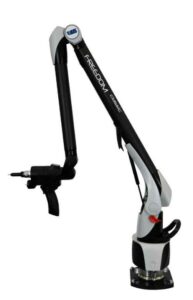
Need precision measurement on your production floor? Consider the FREEDOM arm from Cross partner LK Metrology. Choose from three models and levels of accuracy which best suits your application.
All models are completely portable with wireless connectivity and battery power. They’re lightweight, with the largest model weighing less than 25 pounds, with infinite rotation and zero-G counterbalance to reduce user fatigue while maintaining accuracy.

