Key Differences in Dimensional Measurement Systems
When performing dimensional inspection, there are many measurement methods which are very accurate and highly recommended. In this article, our experts will explain some of the benefits and key differences between some of those methods including: CMMs, portable measuring arms, vision systems, and optical comparators.
Coordinate Measuring Machines or (CMMs):
CMMs have been used for years in the quality industry. As many quality labs are required to perform precise measurements on several detailed items at a time, CMMs have been the “go to” form of measurement in quality labs. One of the biggest benefits of using a CMM in your quality lab is the ability to write programs which can be run automatically without the constant monitoring of an operator or expensive custom designed fixturing.
CMMs are designed to take measurements in three dimensional space and can make use of your 3D CAD model providing a comparative measurement to the perfect part. Because of this setup, most CMMs are fully customizable based on your application and can range from $100K to $500K. A CMM is the best option for in lab measurements that require 3D analysis or large volume measurements.
Portable Arm CMM's:
Portable measuring arms are similar to CMMs, however since they are mobile with a greater range of motion, they are primarily used for taking large measurements of items while in production. Since a CMM’s range is restricted to the surface area of its table and the height of its bridge, a portable measuring arm may be the best solution for measuring very large parts or those still in the manufacturing environment.
As with CMMs, portable measuring arms require trained operators, but give you greater capability than other methods of measurement with powerful software. Portable measuring arms are typically a good option for production operations with large parts that need measurement without disrupting processes.
Optical Comparators:
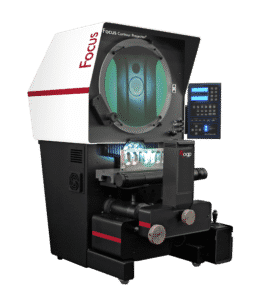
Optical comparators, like CMMs, have been used for many years to take two dimensional measurements of objects projected onto a glass screen. Because of projection methods, optical comparators can make small items measurable with relatively simple internal components. Older and less expensive optical comparators work by manually taking measurement points with crosshairs on the screen. Some newer models feature an edge detection which automatically records a point when crossing a plane to improve accuracy. LED lighting has greatly improved the contrast and reliability of the optical system.
Optical comparators have expanded over the last 5 years to include fully automated measurement as well as comparative measurements to your CAD model. These are typically a good option in production environments with spot checks on simple parts.

Vision Systems or Video Measurement Systems:
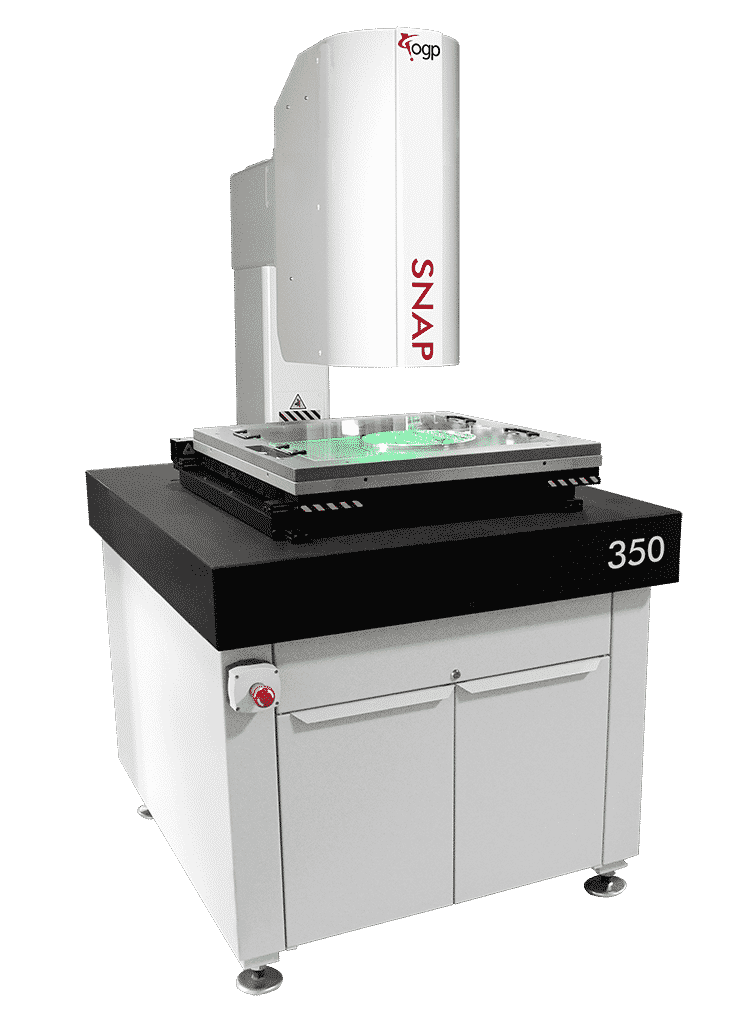
With advances in technology and the increasingly fast paced environments in many industries, vision systems have entered the market to improve speed and efficiency. Before vision systems, quality labs have had to rely on slower forms of measurement such as optical comparators or the unnecessary power of a CMM. A vision system ties that all together in a much faster tool utilizing a camera, touch trigger, and laser sensors in one platform that can measure 3D parts. Part sizes can range from .05” to 36” depending on the platform.
Like CMMs, most vision systems are fully customizable based on your application. They come with a variety of sizes and field of view options based on needs. The software used on most of these systems is very user intuitive and easy to use. These systems are highly accurate and offer the most versatility when tackling tough measurements.
The Key Differences:
While CMMs are great for detailed three dimensional objects, portable measuring arms are needed for production floor measuring of larger parts, Vision/Multi-Sensor systems are versatile and fast. Optical comparators are much quicker at taking two dimensional measurements and are the easiest to use. Take a look at the table below to check out some general comparisons to see which method might be best for your application.
| Coordinate Measuring Machine (CMM) | Portable Measuring Arm | Video Measurement System | Optical Comparator | |
|---|---|---|---|---|
| Trained/Certified Operator Required? | Yes | Yes | Depends on Software | No |
| Customizable System? | Yes | Yes | Yes | Yes |
| Dimensional Capability | 3D | 3D | 3D/2D | 2D |
| Contact Measurement? | Yes | Yes | Optional | No |
| Accuracies | Typically 0.0002″ | Typically 0.001” | Typically 0.0001” | Typically 0.0002” |
| Compatible with CAD/DXF? | Yes | Yes | Yes | No |
| Environmental Requirements | Lab or Clean Room – 68° F | In Lab / Shop Floor | In Lab / Shop Floor | In Lab / Shop Floor |
| Space Required | Floor Standing:25-50 sqft | Mobile Unit: 3-5 sqft | Tabletop: 5-10 sqft | Tabletop or Floor Standing: 5-10 sqft |
| Air Required | 75-80 PSI | No | No | No |
| Suggested Use: | Use in lab for repetitive or 3D measurements of detailed part | Use for large machined parts in line on production floor | Use in lab for quick and simple repetitive 2D measurements | Use in lab for quick and simple 2D measurements |
| Price Range | $50K-$500K | $50K-$125K | $25K-$250K | $15K-$60K |
Still unsure of what would be best for your operation? Give us a call to learn more or fill out our contact form to request information about equipment! Let us help you select the correct equipment for your needs.


