Case Study: Onsite Inspection Improves Fit and Finish for Electrolux
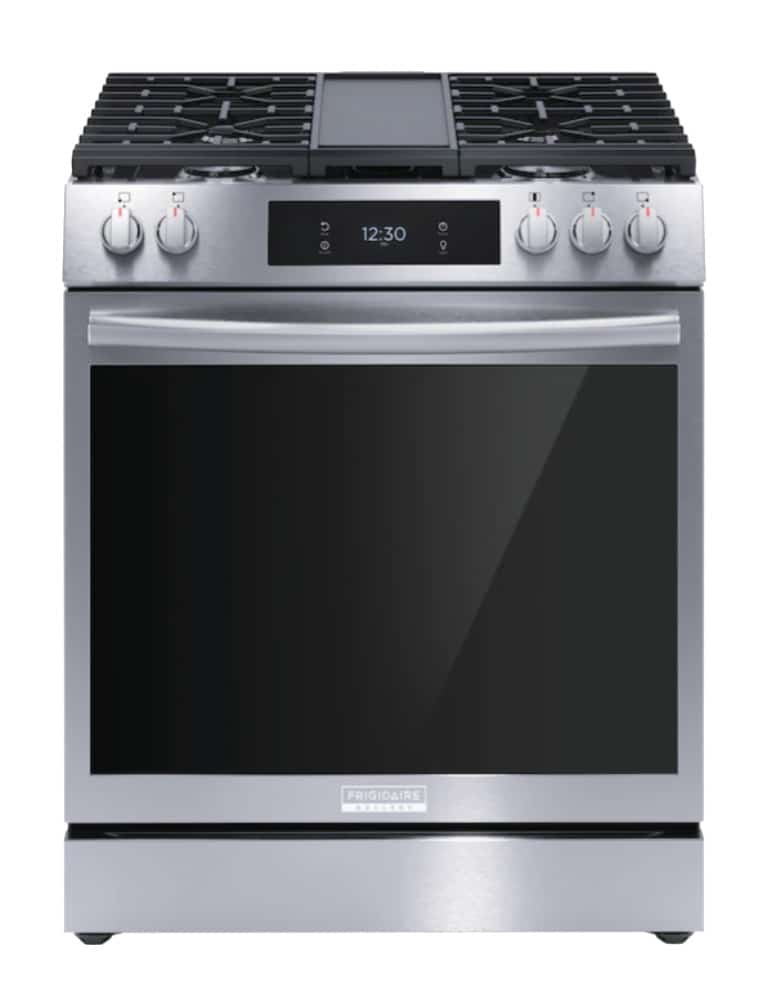
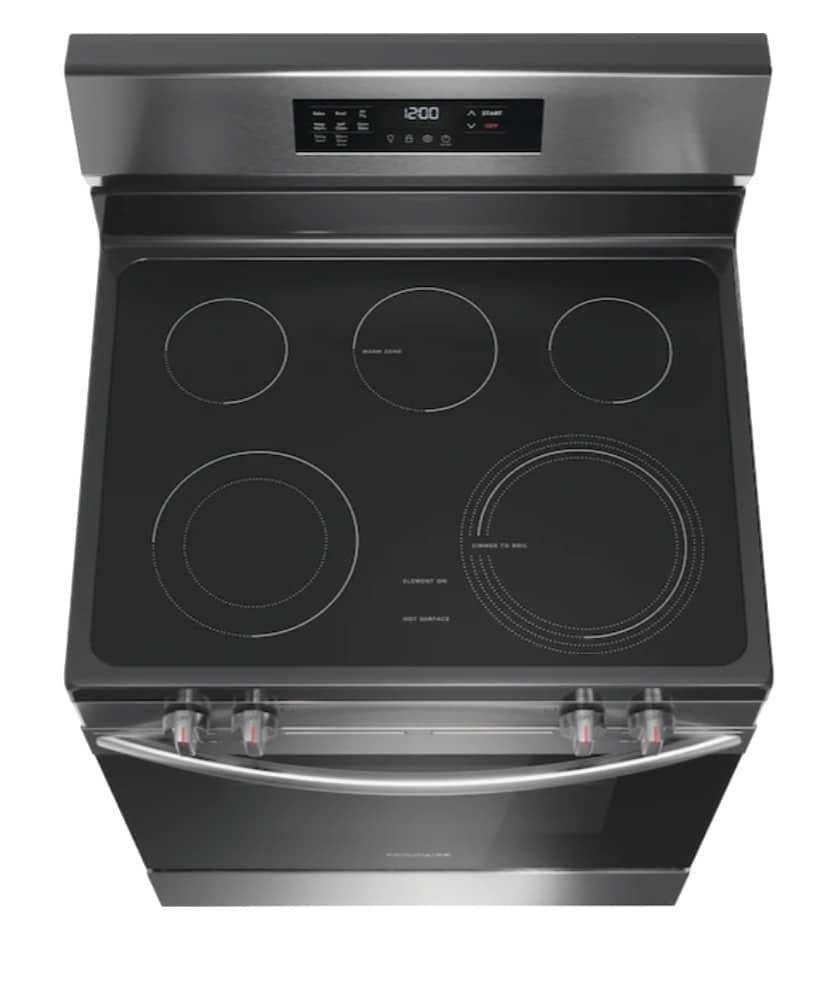
While commissioning a new manufacturing line in their Springfield, TN facility, the team at Electrolux realized they needed additional measurement capacity for PPAP (Production Part Approval Process) inspections. The team was using traditional CMMs but needed some extra help. Electrolux reached out to the Cross Precision Measurement team for help measuring metal-stamped oven chassis components. These measurements were critical because, as Stephen Tyson, New Product Quality Engineer, said, “The chassis is the foundation of every oven, it’s important that they are dimensionally correct.”
Measurement help from Cross came in the form of Scott, an Inspection Technician, who came onsite with a portable CMM arm. Portable CMMs are a great option for measuring large parts, like oven chassis, and are ideal for measuring in production environments. They allow you to bring the measurement equipment to the part instead of bringing the part to your metrology lab for measurement. Stephen said of the portable CMM, “We didn’t see that we needed it until it became available, and then it became indispensable.” He went on to state, “It opened a window, so to speak, relative to dimensional characteristics that we didn’t understand. We had expected to do most of this work with the traditional granite tables and a CMM, which wouldn’t have worked for this.”
For the Electrolux team, one of the major benefits of the portable CMM was that it allowed Scott to measure dimensions within the production cell. When Scott began he actually spent quite a bit of time in the production area measuring the manufacturing equipment itself. The machine had a built-in measurement system to ensure the parts it was producing were dimensionally correct. Although the machine builder had claimed the equipment was calibrated, the parts it was making were not in spec, but it wasn’t recognizing them as out of spec. Stephen said, “There was a silly assumption that if the supplier said it was correct then it was.” They quickly discovered that wasn’t the case. Stephen explained that “[Scott] became the source for our accuracy measurements. His system is calibrated so we had confidence in that. We adjusted the measurement system to make sure it was giving the same results. Now we have high confidence that the measurements given by the equipment are correct.”


Once the measurement system was working properly, Scott helped with standard part measurements on the oven chassis, doors, etc. before they were porcelain-enamel coated and heated, as well as post-treatment to ensure they were dimensionally correct. This allowed the team to dial in the manufacturing process, reduce scrap, and ensure parts fit together properly instead of needing to be forced together. Stephen described Scott as a consultant, “He was more than just a measurement specialist. I found that people didn’t miss me when I was on vacation but missed Scott when he was gone for a week. He provided technical experience relative to everything from tolerancing to measuring. We included him in meetings. He could help explain what we were seeing dimensionally in ways that others of us could not. He was literally part of the team.”
The new production line introduced a significant amount of additional automation into the process, and as Stephen pointed out, “automation requires correct parts” so having confidence in the dimensions of the components was key. He went on to say that “fit and finish are really important in the showroom.” According to Stephen, “Cross helped to make sure the robots and fixtures were where they needed to be as well as making sure that the parts were the right size.” Having the ability to measure within the production cell gave them the ability to ensure all fixtures were precisely where they should be for proper assembly.
Overall, Cross was able to help Electrolux improve the quality of their product by ensuring the product dimensions were correct. Stephen stated that “Cross provided measurement ability that we didn’t have in-house. We didn’t know what we had dimensionally in some parts and situations. We literally would have been in the dark without that measurement capability. We just couldn’t have done it.”
About Electrolux Group
Electrolux Group shapes living for the better by reinventing taste, care, and well-being experiences, making life more enjoyable and sustainable for millions of people. Under their brands, including Electrolux, AEG, and Frigidaire, they sell approximately 60 million household products in over 120 markets every year. The Group’s products include refrigerators, freezers, ovens, cookers, hobs, hoods, microwave ovens, dishwashers, washing machines, tumble dryers, vacuum cleaners, air conditioners, air purifiers, and small domestic appliances. To learn more about Electrolux visit www.electroluxgroup.com.

