100% Employee Owned, Founded 1954

Search
Close this search box.

SmartScope Flash 500

Product Overview

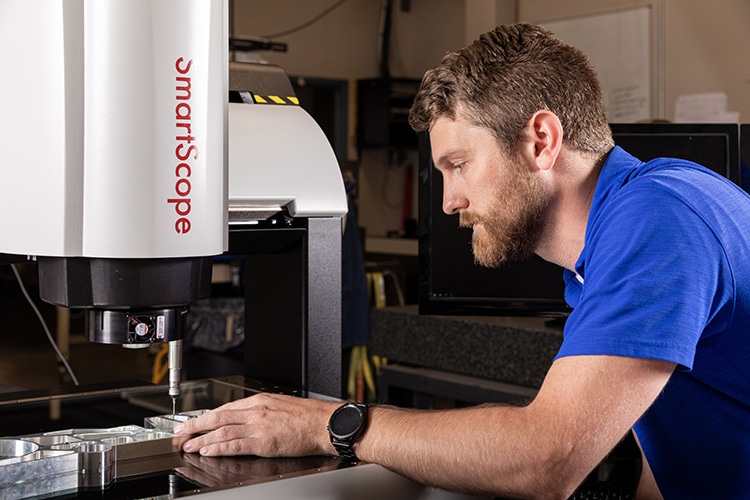
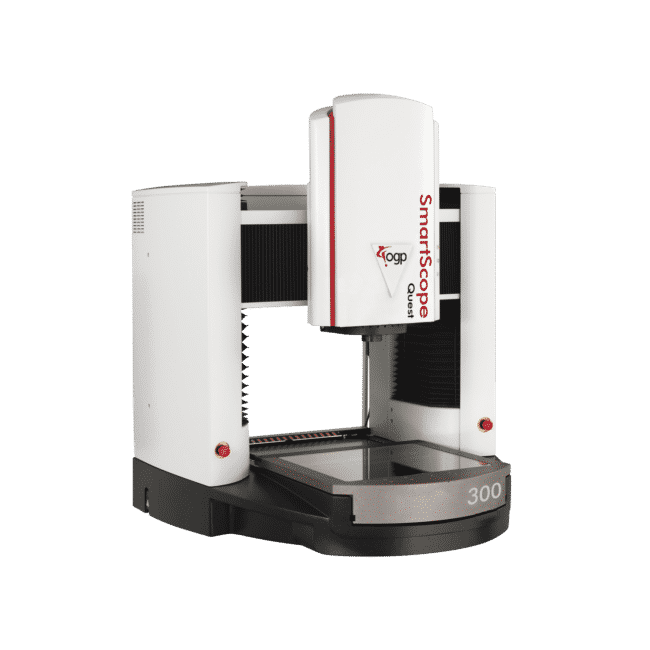
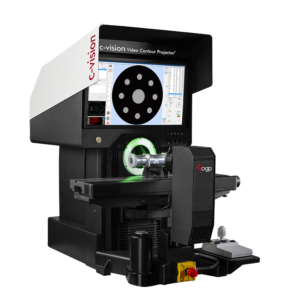
The SmartScope Flash 500 offers Cross customers the great features and performance of other systems in the Flash series, within a large travel bridge-design system. Parts move on a precision DC motor-driven Y-axis stage while the optics assembly travels in the X-axis across a stable bridge cross member. This design assures rapid, smooth part translation and robust measurement performance.

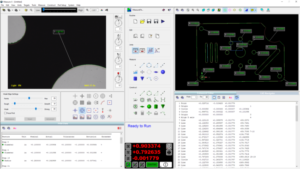
An extended Y-axis travel of 610 mm is optional, and either 300 mm or 400 mm extended Z-axis travel is available. SmartScope Flash 500 is multisensor capable and comes standard with a high quality Zoom 12 AccuCentric® zoom lens that autocalibrates with every magnification change.

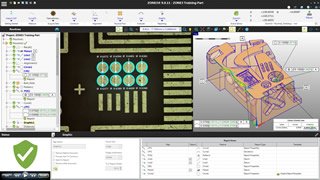
Whether your operation needs multisensor capability now or in the future, your SmartScope Flash is up to the task. Its advanced design allows the additional precision of multiple sensors, including touch trigger probes, micro-probes, and laser scanners. Field retrofits are easily accomplished.

As a distributor for OGP, our precision measurement group offers the full line of SmartScope Flash systems throughout our sales territories in the U.S. For more information about the OGP products we offer, or to get a quote for new equipment, contact a local team member today.

Features and Benefits:

  • Measurement stability – Optics mounted on a rigid bridge support structure for metrological integrity
  • Precision optics – High quality Zoom 12 AccuCentric® zoom lens autocalibrates with every magnification change
  • Exclusive illumination to measure the most challenging parts – Substage, TTL, and SmartRing™ light illuminate parts from all angles
  • Multisensor versatility – Optional touch probe, laser, and micro-probe sensors

Specifications

SmartScope Flash 500 Measuring Ranges/Travel
 mmin
X Axis50019.68
Y Axis45017.71
Z Axis2007.87
Extended Y (Optional)61024.01
Extended Z (Optional)30011.81
Extended Z (Optional)40015.74
  • Area Accuracy: (2.5 + 5L/1000) µm
  • Z Accuracy: Up to (2.0 + 8L/1000) µm
  • Overall Equipment Size and Footprint
    • Max Height: 1580 mm (62.20 in)
    • Max Height (With Optional 300 mm Z): 1980 mm (77.95 in)
    • Max Height (With Optional 400 mm Z): 2190 mm (86.22 in)
    • Max Width: 1050 mm (41.33 in)
    • Max Depth: 1200 mm (47.24 in)
    • Max Depth (With Optional 610 mm Y): 1310 mm (51.57 in)
    • Weight: 960 Kg (2116.44 lbs)
  • Power Requirements: 115/230 vac, 50/60 Hz, 1 phase, 700 W
  • Software Options:
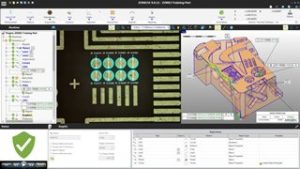
    • Metrology Software: ZONE3® or ZONE3 Pro, MeasureMind® 3D MultiSensor, Measure-X®, VMS™, Elements®
    • Productivity Software: MeasureFit® Plus, SmartFit® 3D, SmartProfile®
    • Offline Software: ZONE3, MeasureMind 3D MultiSensor, Measure-X, VMS

See how our team can help improve efficiency, reduce risk, and raise quality in your process.

Contact our Team

Hang Tight! We're Searching... Searching... Searching...

We’re looking through thousands of pages to find the most relevant information.

In the meantime, enjoy these fun facts…

Did you know… Cross Company is an ESOP (Employee Stock Ownership Plan). Our ESOP started in 1979 and as of 2006, we are 100% employee-owned! Learn more about our ESOP and how that benefits both team members and our customers.
Did you know... the precision measurement group at Cross was founded in 1939 by our current CEO's grandfather, Jim King. That's a whole lot of calibration!
Did you know... A fingerprint weighs about 50 micrograms. We know, we weighed it! The residue left from a finger can actually make a difference in weight results which is why we wear gloves when we calibrate weights. For reference, a sheet of paper is about 4.5 grams, that’s 4.5 million micrograms.
Did you know… Cross Company has grown significantly since our start in 1954. Over the years we've acquired 26 companies! Today, our five groups have expertise in everything from industrial automation to precision measurement, and industry knowledge going all the way back to 1939.