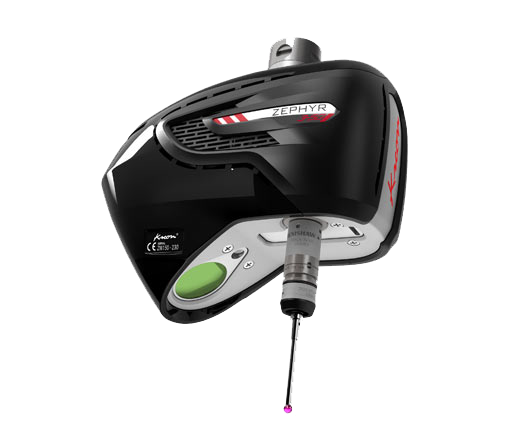
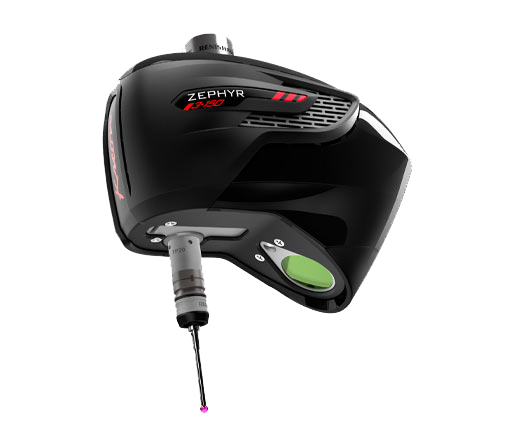
Zephyr III 3D Scanner
Product Overview
The Zephyr III 3D scanner from Kreon is designed to perform demanding measurement operations such as GD&T analysis and color mapping. With a high acquisition frequency of 300hz, and up to 150 mm wide line with the Zephyr III 150, the Zephyr III range offers everything you need to improve measurement efficiency in your operation. The Zephyr III scanner is versatile and can be mounted either on CMMs, arms or even robots.
As a distributor for Kreon in the U.S. our precision measurement group offers the the Zephyr III 3D scanner throughout our sales territories in the U.S. For more information about the Zephyr III, or to see which 3D scanner is right for your application, contact a local team member today.
Features and Benefits
The Kreon Zephyr III Blue 3D scanner offers:
High resolution camera
LED for field visualization
Hard probe or touch-probe attachment
Blue laser line
Renishaw connector
Choose your focus
The Zephyr III range includes two models Kreon designed to focus on speed and accuracy. Take a look at features of each below:
ZEPHYR III 50
The most accurate
Dedicated to high accuracy and resolution scanning on small geometries.

ZEPHYR III 150
The fastest
With a 150mm laser line, it scans the largest parts in record time.

Technical Specifications
Speed
600,000 pts/sec*
Accuracy
09 µm*
Laser line width
200 mm*
Advanced scanning speed
- Decreased number of scan passes on the part given to a 150 mm laser line (Zephyr III 150).
- Faster movement of the 3D scanner assured by the increased frequency.
- Acquisition speed of 600,000 points/sec, allowing to quickly get the dense point cloud.
High resolution and high accuracy
- 2,000 points per laser line for a high resolution level (15µm*).
- Optimal accuracy, even on shiny reflective surfaces, due to blue laser fineness.
- Temperature compensation of the 3D scanner to avoid pre-heating and to maintain a constant accuracy.
Versatility
- Use a probe under the scanner for scanning and probing simultaneously.
- Compatibility with most of the CMM of the market.
- Usable with PH10 and auto-change racks (ACR3).
- Extended comptibility with robots, Kreon measuring arm, Optical tracker and machine-tool.
* According to ISO 10360-8:2013, MPE (P[Size.Sph.All:Tr:ODS]): Maximum size error on all measured points (translation mode).
Maximum values depending on the Zephyr III scanner model.

