Step 1: Gather Required Tools and Materials
- Hydraulic hose
- Hydraulic hose fitting
- Hose lubricant
- Calipers
- Paint pen
- Safety goggles
- Crimping machine
- Crimping die and collar
- Ultra Clean nozzle, projectiles, and clean seal caps
Step 2: Put on Safety Equipment
At this point, put on your safety equipment. Company protocol is to wear safety glasses while cutting and crimping.
Step 3: Measure and Cut the Hose
Measure the length of hose that you need and cut it to size with a hose saw. For critical hose lengths, make sure to account for the cutoff factor when determining the final length. After cutting the hose, you should have a clean edge. If not, use a file to clean the ends. Saws have different cutting specs so make sure to compare capabilities. Remember to clean the hose ends to reduce contamination and hose assembly failure.
Ultra Clean projectiles should be fired through the hose prior to the installation of end connections. Fire one projectile from one end of the hose through its entire length, then fire the second projectile from the other end of the hose through its entire length. This will allow cleaning in the areas occupied by the insertion of the hose nozzle at either end during the cleaning process.
Step 4: Select Fitting Series
When selecting a fitting series, consider the working pressure, style, type, orientation, attachment methods, and material for its corrosion resistance. It is very important that you do not interchange hose and fitting brands.
Step 5: Mark Insertion Depth and Push On The Hose Fittings
Determine insertion depth of the fitting by utilizing a hose insertion depth block or marking hose from hose end. Draw a thick chalk line around the hose to identify the insertion depth. Lubricate hose with P-80 if necessary, however, do not lubricate if using a spiral hose. Push the hose into the fitting until the mark on the hose is even with the end of the shell.
Step 6: Verify Crimper Capabilities and Adjust the Crimper Setting
Confirm the capabilities of the crimping machine and adjust its settings or change die as necessary. Make sure to choose the correct crimp diameter for each hose assembly.
Use Parker Crimpsource for specific technical specifications when crimping a Parker hose assembly.

Step 7: Select The Die
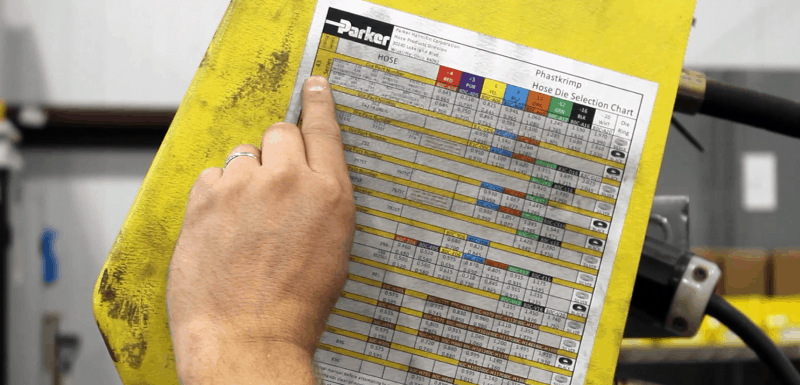
Select the appropriate crimper die set. A crimper die is specifically designed for certain hoses and fittings so make sure to verify the die set by using the crimper decal. You may also use Parkers Crimpsource for specific technical specifications. As needed, lubricate the die bowl using a premium quality lithium-base grease.
Step 8: Place The Hose In The Crimping Machine
Push the end of the hose into the crimping machine (typically bottom loading) and through the die so that the hydraulic hose fitting appears above the die. The top of the hose, now concealed inside the fitting, should not be above the die. For Parker crimpers, rest the bottom of the fitting on the die step.
Step 9: Place Die Ring
Place the die ring on the step of adapter bowl. Reference the decal on the crimper for tool selection.
Step 10: Crimp Hose
Turn on the machine. The cylinder head will slowly move down. As it pushes the collar, the collar compresses the die. Do not touch the machine until the collar is firmly at the bottom of the die. The machine should then stop.
Step 11: Verify Crimp Diameter
Check the paint mark which you made on the hose. If it is no longer at the base of the fitting, it means the hose or the fitting moved during the crimping. However tight it may seem, this is not a good crimp. Otherwise, if the chalk mark is in place, you have successfully crimped the ends of the hydraulic hose. Measure the crimp diameter on a flat surface of the crimped shell and verify the crimp diameter referenced on the decal. Never use or sell hose assemblies with incorrect crimp diameters.
Step 12: Cap Hose Assembly
After you clean the hose, it is a good idea to cap the assembly on both ends. You can use plastic caps or heat shrink caps. UltraClean heat shrink caps or Clean Seal caps are a quick, easy, and clean alternative to cap your hose and fitting assemblies. Simply put a cap on a hose or fitting end and place in the heat shrink machine for a few seconds for a contamination-free hose assembly. The caps are available in fifteen different sizes and come in package or bulk quantities to fit your specific requirements.
By following these steps as your guideline, you should achieve a properly assembled hose. No matter what your industrial application is, Cross hose and fittings specialists can help you determine the right hydraulic hose solution for your operation.
