Why is recalibration of your 3D scanner so important?
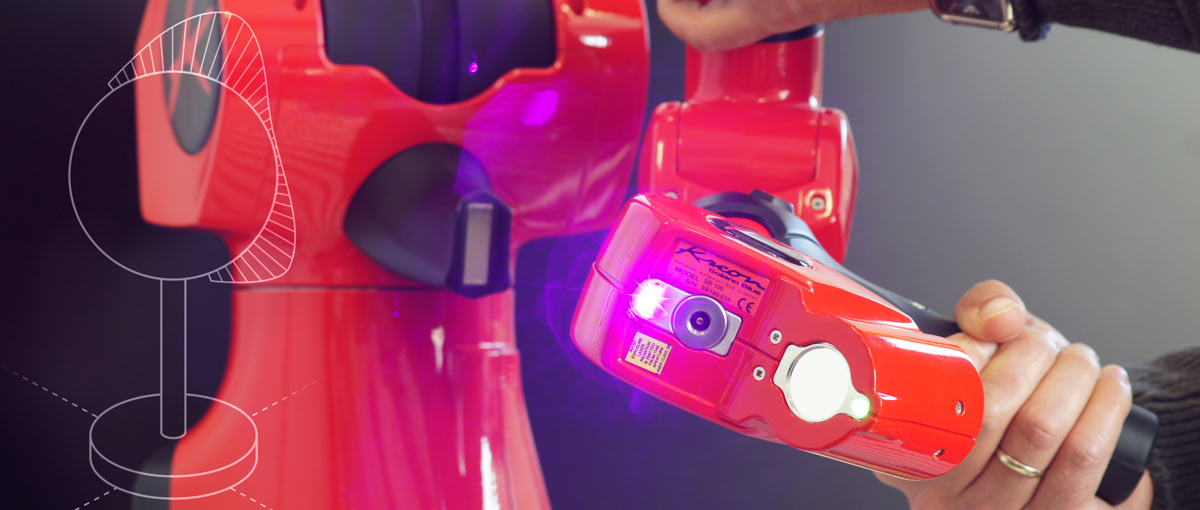
Over a period of time, the accuracy and measuring results of your 3D scanner can be affected by long use. Recalibration means checking and adjusting your scanner so you can be sure it continues to meet the specifications that Kreon guarantees. The precision measurement team at Cross Company has been a leader in calibration services since 1939. Our team of experts can agree, this list of the top 9 reasons to keep your Kreon measuring arm calibrated is important to know. Take a look at the top 3:
1 – Confidence in data
Recalibration ensures consistent quality of measurements taken by the scanner and hence confidence in the results obtained. This procedure is part of the ongoing inspection process for all measuring instruments. We recommend carrying it out annually.
2 – Testing accuracy before recalibration
Before recalibration, the level of accuracy of the scanner is ascertained. Extreme inaccuracy can point to incorrect use of the scanner or a more serious problem with the scanner itself. Accuracy within the typical scanner specifications shows that the scanner is working properly, maintaining the quality of your inspections.
3 – Disassembling the scanner
The scanner is then opened and all the optical and electronic components are checked (physical and functional state). In rare cases, parts that have become loose or detached are identified and refastened to avoid the risk of the scanner breaking down.
As a distributor for Kreon in the U.S. Cross offers the full lineup of Kreon measuring arms and can help your team determine which measuring arm is best for your application. In addition, our team has the equipment and expertise to keep your Kreon measuring arm calibrated and operating as needed. Reach out to our local team to get a quote for calibrating your measuring arm.


