Probes vs. 3D Scanners: Choosing the Right Tool for Complex Parts
 Selecting the optimal measurement strategy is crucial when inspecting complex industrial parts, often requiring operators to decide between tactile probing and non-contact 3D scanning. In this technical guide, our partners at Kreon breakdown the specific applications for each method to help you achieve the highest quality control standards. The resource explains that probing is the go-to solution for micron-level precision on tight tolerances, such as datums, edges, and holes. Conversely, 3D scanners are identified as the ideal tool for full-surface inspection, capturing data across large areas to control globality.
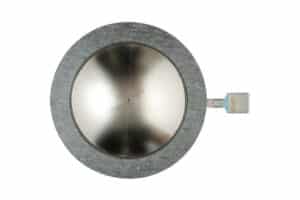
The guide goes a step further by detailing specialized tooling options,.outlining the specific use cases for different probe styli. For example, using disc styli for internal grooves and hydraulic components, or hemispherical styli to mechanically filter out roughness in deep bores. It also highlights how 3D scanners facilitate reverse engineering, allowing manufacturers to create CAD models from obsolete or distorted parts.
Take a look at this guide to learn:
- When to use tactile probes: Understand why probes are essential for verifying geometric features with micron-level precision.
- How to select the right stylus: Explore applications for specialized probes, including star styli for internal shoulders and disc styli for O-ring seats.
- The advantages of non-contact measurement: See how 3D scanners allow you to measure deformable or fragile components without risk of damage.
- Solutions for rough surfaces: Learn how hemispherical styli can assist in measuring rough surfaces by mechanically filtering irregularities.
Why Partner with Cross Company?
At Cross Company, we understand that complex parts require sophisticated inspection solutions. As a premier partner for Kreon in the United States, our precision measurement team can help you navigate the nuances between probing and scanning to find the perfect fit for your application. Whether you need specialized styli for hydraulic components or high-speed scanners for reverse engineering, Cross provides the technical expertise and support to ensure your quality control processes are both accurate and efficient.


